The Whelping Pen
- Poodle_People

- Nov 2, 2019
- 4 min read
Responsible breeders will want to give their dam a quiet, comfortable place to whelp her puppies, but what kind of whelping pen works best? The answer varies for the dog and its environment.
For livestock guardians, that could be a simple dirt depression in a sheltered area. For toy breeds, it could be a cardboard box with a "door" cut out. Many folks use a simple kiddie swimming pool, others invest in one of the pre-cut reusable whelping boxes on the market like Durawhelp or EZWhelp.
In this article, we'll cover:
What to look for
What to avoid
What we've used and why
For information on what you'll need to prepare for the birth and first few days, see Whelping Supplies
What to look for
The materials aren't as important as what it offers - a temperature-appropriate surround that will keep puppies in a restricted area, that can be cleaned as needed and has traction for the puppies to move without slipping or becoming entangled.
What to avoid
Slippery surfaces - puppies need traction!
Non-drafty area that doesn't get too cold or too hot
Anything with finely textured surfaces that would be difficult or impossible to clean
What we've used and why
We've used the following whelping pens with mixed opinions on the results:
Kiddie Pool
Advantages - cheap, no assembly needed, easy to clean
Disadvantages - puppies can climb out at @3 weeks, no traction for young feet, inconvenient to store, limited usefulness during puppyhood
Custom-made plywood box
Advantages - Easy to assemble once built, looks beautiful, it was easy to customize
Disadvantages - Very heavy to carry and store, didn't offer as much flexibility as we could use
Reusable collapsible durawhelp box
Advantages - Easy to store, easy to clean, easy to assemble, portable
Disadvantage - Expensive, limited lifespan, didn't support a large puppy's antics once they got more active, not so easily expanded
What we now use
8-panel Exercise pen
Advantages - Portable, flexible use throughout puppyhood, easy to clean, expandable
Disadvantages - requires base support, needs additional blockage when puppies start to climb
Ultimately, we like to use a standard 4'x4' exercise pen as our whelping pen for its portability and flexibility. I present here our plan and how we still use the pen in our whelping process:
Whelping Pen Purchases:
$40 48" W x 30"H x-pen. For standard poodles, you don't want an x-pen that's too high as you'll likely be bending over the edge of it many times over the next couple months. You're going to need a second pen in about a month!
$70 6' x 12' sheet vinyl flooring - choose a budget linoleum with a flat finish that isn't too "cushy." Sheet flooring with a realistic texture is much harder to clean than the cheaper "smooth" linoleum options, and you will be cleaning a lot!
$8 (2) 1" x 4" untreated lumber or melamine board, cut into (4) lengths of just over 4' + 0.75"
Zip ties or screws to bolt the wood corners together
Whelping pads - invest in several reusable pads. Any size up to 48"sq will work but the larger the better. You'll be using (and washing) these every day!
$10 (2) flat bed sheets - They can be cheap discount brands or second-hand store purchases, we're only going to use them as drapes on the x-pen to block drafts. If you plan to have video cam in your whelping area, use a solid medium neutral color sheet for easy contrast.
Optional purchases - foam board, corrugated cardboard, or other stiff board to place between the x-pen and the wall (protects your walls from poopy paws, puppy chew, electrical outlet access, curtains behind the x-pen, etc.). We save giant Amazon or Chewy boxes for this purpose.
About 2 weeks before due date
ROLL OUT THE FLOOR COVERING - Choosing an out-of-the-way but easily accessible corner, we roll out the linoleum to serve as the base for puppy operations. This linoleum floor will be used until the puppies go to their new homes. After the pups leave, we clean can clean and disinfect it, then roll it up and put it in storage until the next litter.
PROTECT THE WALLS - Wall surfaces, curtains and outlets can be protected by putting a cardboard or foamboard barrier between the pen and the wall.
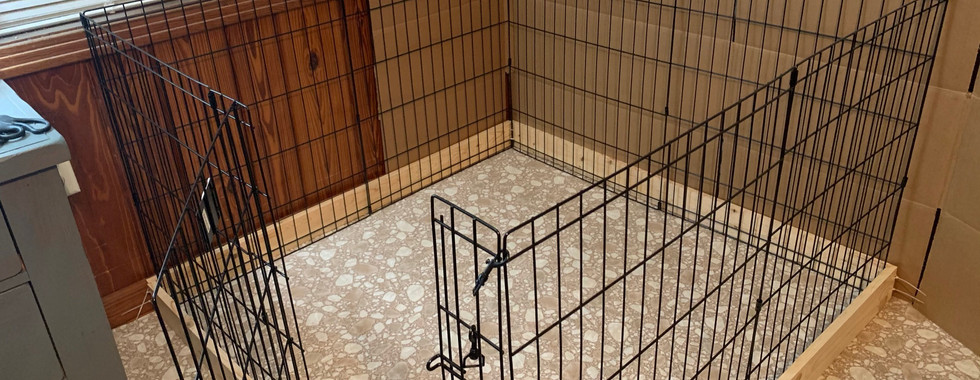
SET UP AND STABILIZE THE EXERCISE PEN - We open up one exercise pen over the linoleum, making sure the door is where you want it.
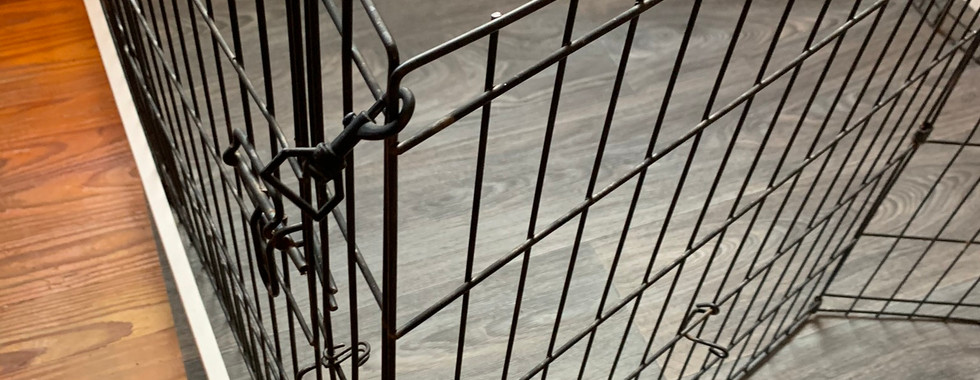
We drill 2 holes in each end of the 4 wood boards (avoid treated lumber and pine) and assemble them around the base of the exercise pen. We then zip tie the corners together on all 4 sides, making sure to include the x-pen corners in the zip (see pictures 4-7 above). This ensures the walls of the pen are stable and cannot be moved, and prevents little puppy feet from getting through the base of the bars.
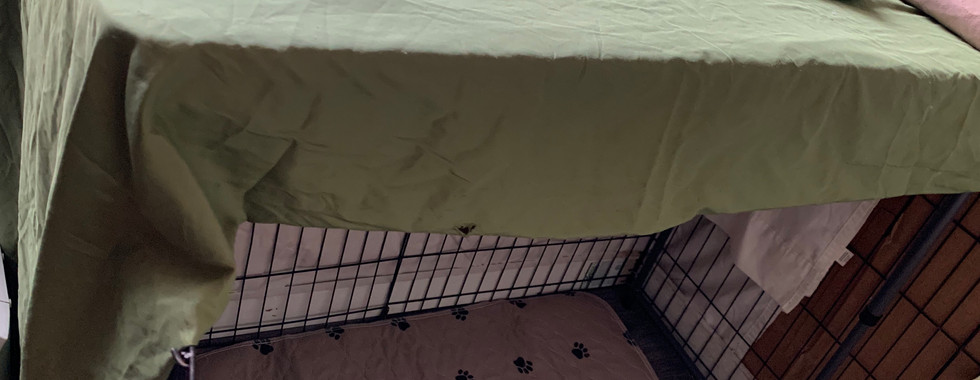
PREVENT DRAFTS - Once the pen is assembled on the linoleum and the wood stabilizing boards are secure, we lay a couple of flat sheet over the edges of the pen to form "walls" that will prevent drafts. We also use a folding card table, set it up in the pen, and cover it with a flat sheet. This helps our girls feel a little more "denned in" and helps prevent any drafts from the ceiling fan. We use the top of the table to lay out all our birthing supplies.











Comments